Click on any image for a larger view. |
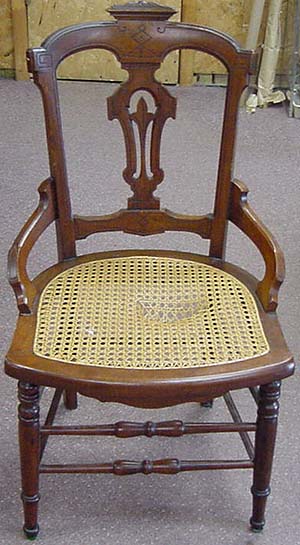
Improper use, like standing or kneeling in a caned seat, often results in a ruined seat. The following is an abbreviated process to help you understand what we do.
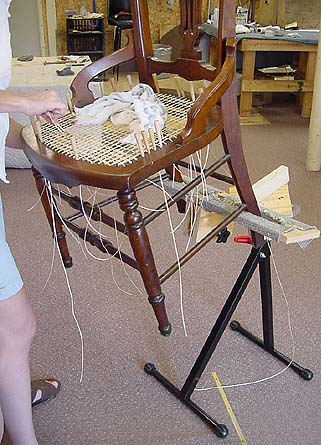
The first step is to remove all the old cane from the chair, and clean all the holes. |
 |
The size of cane used is determined by the size of the hole and the distance between holes. |
 |
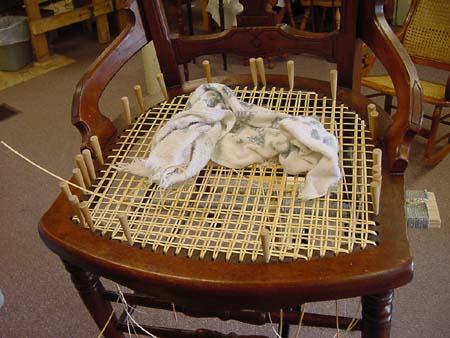
First you do all the front to back holes, then do all the side to side. Then you do the front to back again, then it's time to start weaving on the side to side--a much slower process. It is necessary to keep the cane moist while weaving. |
 |
You use pegs to hold the cane strands in place, making sure you have plenty on hand before you start. |
 |
After the sides are done you start weaving diagonally. Do all the same direction first then do the other direction. There are special rods to help with this process but most of the time it is better to use just your hands. This is the best way to keep all the strands at the right tension. |
 |
After all the cane is woven it's time to install the binder cane. This is usually run from corner to corner and the loose cane ends are run up and down the holes around the binder to secure it in place. |
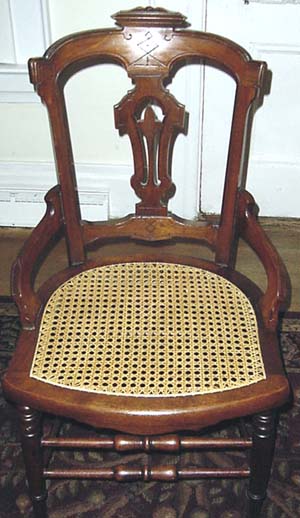 |
After the binder cane is secure you tie off all the loose ends. Sometimes it is necessary to place small pegs or pieces of cane in the corner hole and add a dab of glue. The finished chair, a real work of art! |
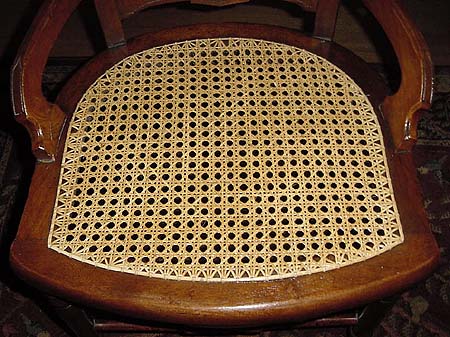 |
Here we have a close up of the seat.
|